The Ultimate Portable Emulation Device
The question is simple: What’s the best way to play retro games on a portable device? The answer is slightly more complicated.
Everyone has holes in their gaming history. I’ve never beaten a Zelda game, for instance. I know, I know. If only there were time. As it turns out, situations like airplane rides where you’re stuck in one place are perfect for chipping away at one’s towering pile of shame. But you can’t have all your games with you all the time… CAN YOU?
Reminder: it is illegal to use ROMs that are not your own!
The 3DS offers a number of old games on Virtual Console, but that’s a pretty small library in the grand scheme. There are handheld emulation devices, but they can be underpowered, limited to certain platforms, difficult to tweak, and pricey for something that may not work very well. Laptops, while flexible, are bulky, expensive, and frankly overkill for what we want to do.
So what’s the solution? What provides maximum flexibility, portability, and is reasonably priced? My pick: a Windows tablet, specifically the Dell Venue 8 Pro.
The Tablet
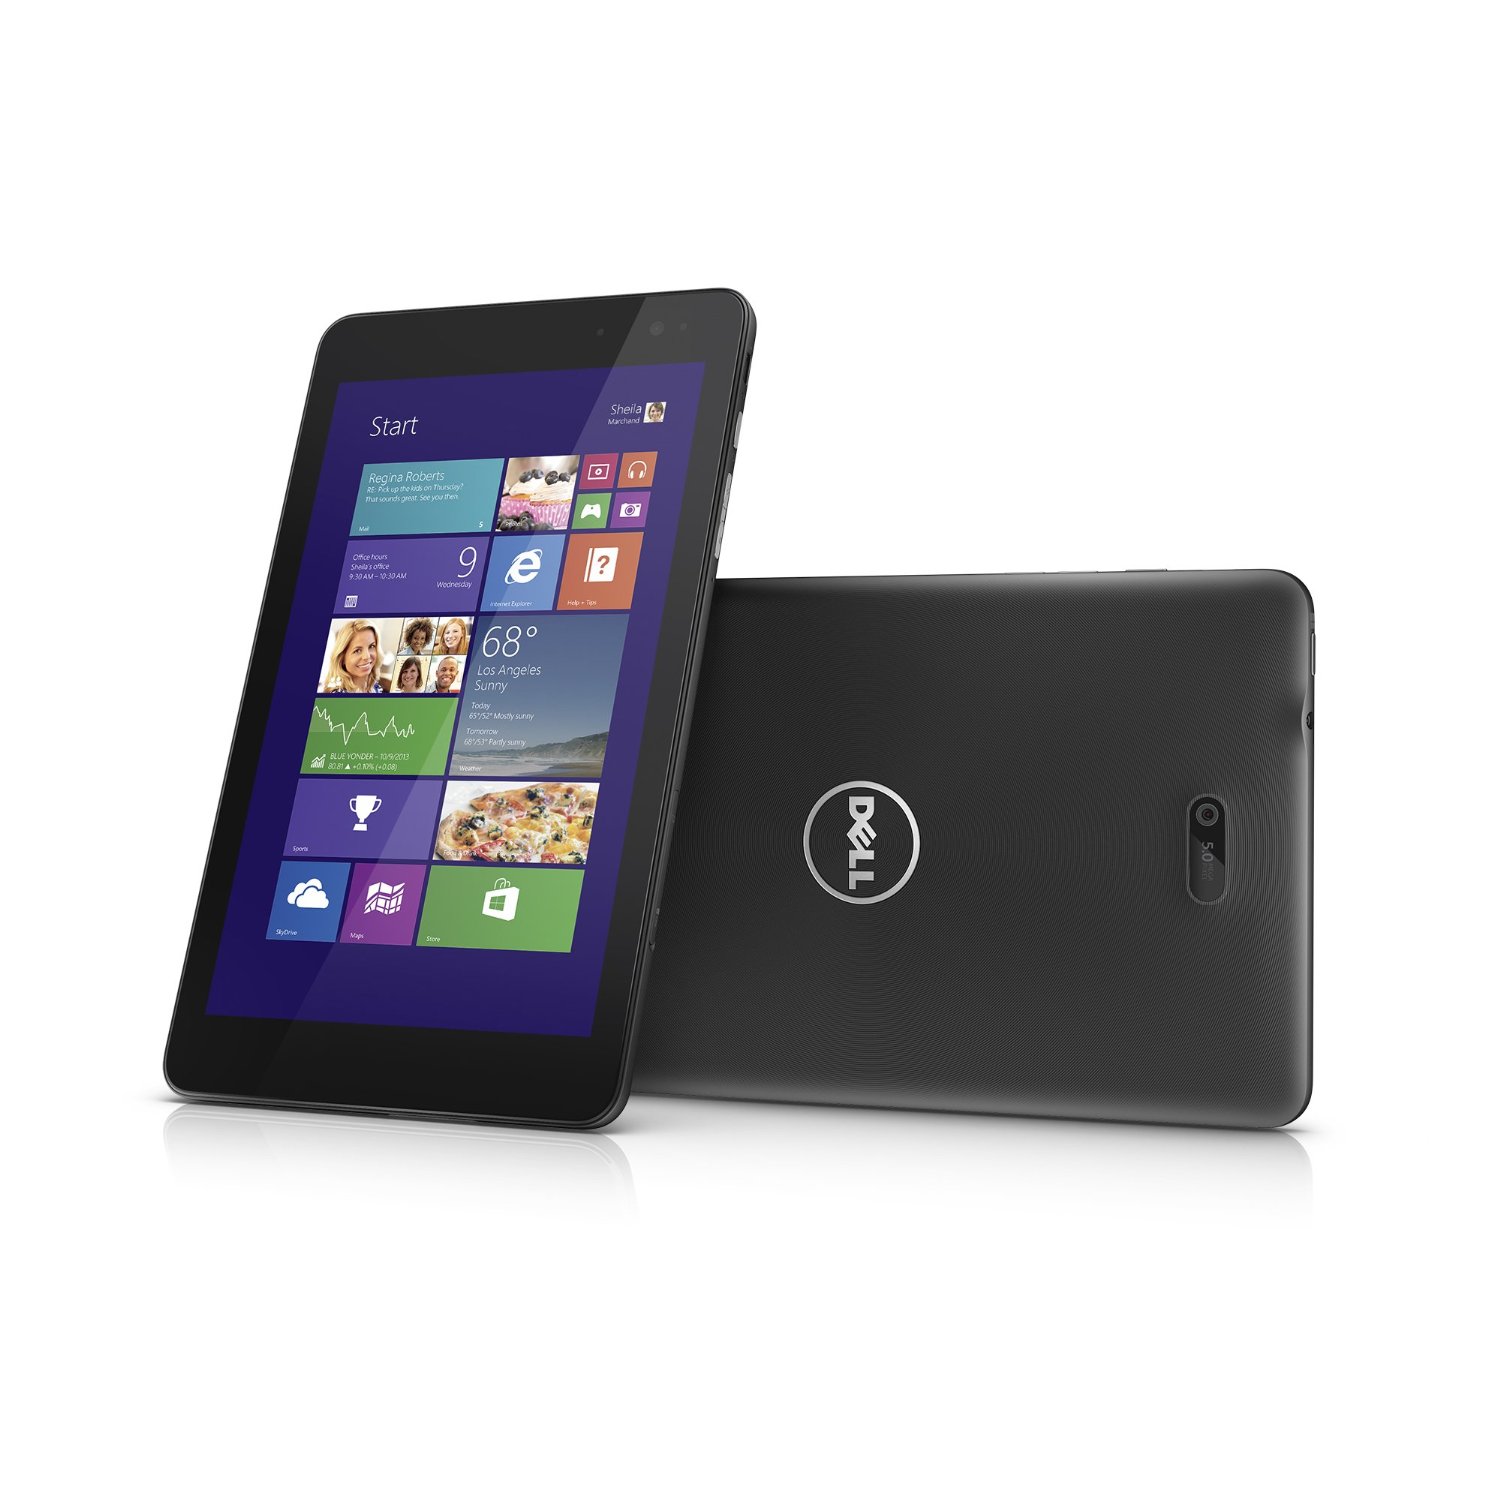
They still make Windows tablets?
This thing runs Windows, not Android or some fly-by-night proprietary emulator OS, Windows. Virtually all emulators have Windows versions, so the likelihood is high that as long as there’s an emulator out there, it’ll run on the Venue. Plus you can use it for other stuff, like Steam and… Excel.
The device is solidly built and responsive. It weighs 1.15 lbs (less than my iPad), including the case I bought to allow it to stand on its own. My Venue came with 64GB of internal storage but I got a 128GB microSD card just in case. The screen is sharp and bright, and I’ve used it for a solid six hours without the battery dying.
It’s also cheap. The Venue 8 Pro is a slightly older model of Dell tablet, and since nobody’s buying Windows tablets anyway, you can find Venues for less than $100. I had a flight coming up and needed one stat, so I ended up paying $160 for my 64GB model (there is a cheaper 32GB version).
The only real shortcoming for me is the lack of buttons. There are hacky solutions like VirtualGamepad that allow you to use sections of the touchscreen as buttons, but I prefer a simpler solution: a good old fashioned controller.
The Controller

Hello, beautiful.
I settled on the 8bitdo SNES30. Not only is it a tried-and-true form factor, but it’s got enough buttons to work with most 2D games and even a few 3D ones. The buttons and the controller itself feel fantastic. Also, because it lacks analog sticks, it’s thin, enabling it to slide neatly into a carry-on bag along with the Venue.
The SNES30 is Bluetooth-enabled, but I got a USB micro adapter in case I wanted to plug directly into the Venue. It sometimes takes a couple of tries for the Venue to recognize the SNES30, but once it does it works like a charm.
The Software
If you’ve ever ventured into the wild jungle of emulation, you know that managing a collection of emulators and their settings can get overwhelming fast. The most elegant software solution I’ve found to tame this insanity is RetroArch. RetroArch allows you to install the functional “cores” of other emulators and launch everything from one slick interface.

RetroArch has probably the nicest interface I have seen in an emulator front-end.
Cost
You could probably save a bunch by getting the 32GB version of the Venue 8 Pro, but be sure you’re getting the 5000 series, which has 2GB of RAM compared to 1GB on the 3000 series. You could probably skimp on the SD card, too.
MoKo case - $9
Total - $249
Not bad for total freedom.
Closing Thoughts

Airplane seats aren’t so bad this way.
As yet, I’ve only made one long plane trip with this setup, so who knows, it might explode the next time I try it. But so far it’s worked pretty well! I wasn’t able to get some 3D games working at an acceptable frame rate, but pretty much every 2D game I tried ran like butter. I imagine I could squeeze out a few more frames by messing with RetroArch’s video settings, but the defaults worked well enough for me.
The biggest downside is probably the fact that it’s a tablet. Because it relies on an external controller, the Venue is perhaps not as “portable” as other solutions. You can’t just whip it out on a bus or in line at the store, for instance (though I did play with it sitting in my lap when the tray tables had to go up). While that would certainly be nice, I personally value the flexibility of a Windows machine over a more turnkey device.
If you go this route, here are my notes for setting up the Venue and RetroArch to work together in nostalgic harmony:
Configuration
RetroArch makes things easy, but there were still a few speed bumps along the way. Before anything else, I’d recommend updating as much software and firmware as you can. I upgraded from Windows 8 to Windows 10, then updated the BIOS and a host of drivers. Before doing so, I had issues with the Venue’s sleep button and display weirdness with certain emulators.
Configuring the controller:
If a controller is not configured, RetroArch uses the keyboard arrows to navigate the menu. This requires the full touch keyboard to be activated on the Venue. To do so:
Start > Control Panel > Devices > Typing > Add the standard keyboard layout as a touch keyboard option: OnThen, in RetroArch, using the onscreen keyboard, use the X key to select and the Z key to go back.
To configure your controller, plug the controller in, make sure it’s recognized by Windows, then use the keyboard to navigate to RetroArch’s Settings menu (the second icon from the left in the dashboard). Then:
Input > Input User 1 Binds > [follow prompts]Tip: I like to bind both the D-pad and the analog stick inputs to the SNES30’s D-pad (useful for many 3D games).
You can now navigate the RetroArch menus with the D-pad and A and B buttons. I would also recommend setting a “Menu Toggle Gamepad Combo” (in the same menu), which allows you to return to the RetroArch dashboard by holding a specific button combination on the controller. Very handy when saving states or changing games or keybindings. I use “Down + L1 + R1 + Y.”
Installing cores:
RetroArch doesn’t actually come with any emulators, but you can install them using this procedure:
Online Updater > Core Updater > [select core]If you install all the cores, you’ll see multiple emulators for the same system. Sometimes games from the same system run better on different emulators. Figuring out which is best requires some experimentation, but these are my general picks for each system:
Arcade: MAME 2014
Game Boy/Game Boy Color: Gambattle
Game Boy Advance: Meteor
Genesis/Game Gear/Master System: Genesis Plus GX
NES: QuickNES
SNES: CATSFC
Launching games:
Before launching games, I recommend telling RetroArch where your ROMs live so you don’t have to browse your entire system each time you want to find a file. Go to:
Settings > Directory > File Browser Dir > [browse to ROM directory] > <Use this directory>To launch games, from the RetroArch main menu:
Load Content > Select File And Detect Core > [browse] > Open Archive As Folder > [select ROM] > [select core, if required]Tip: When browsing files, D-pad left and right jumps eight rows, shoulder buttons jump between letters.